The last of us inspired shot using
Nuke, Houdini and Blender
The goal was to give The Last of Us vibes to this shot, the actor entering a hostile, infected environment. He definitely shouldn’t be there. It’s mysterious, dark, and dangerous.
Plate credit: ActionVFX
First of all, it’s time to track the shot, and as I’m using the non commercial version of Nuke, I had to find another way for 3D tracking, soooo I went to Blender, free and gets the job done, at least for this shot since the camera movement is subtle.
I imported a high-pass version of the footage from Nuke to Blender to have more contrast to work with
The challenging part for tracking was the dark environment and the moving light, but after a bit of trial and error, the tracking was done.
Inside Blender, I put together quick shapes representing the environment, then projected a frame from the footage on it to give me correct light bounces.
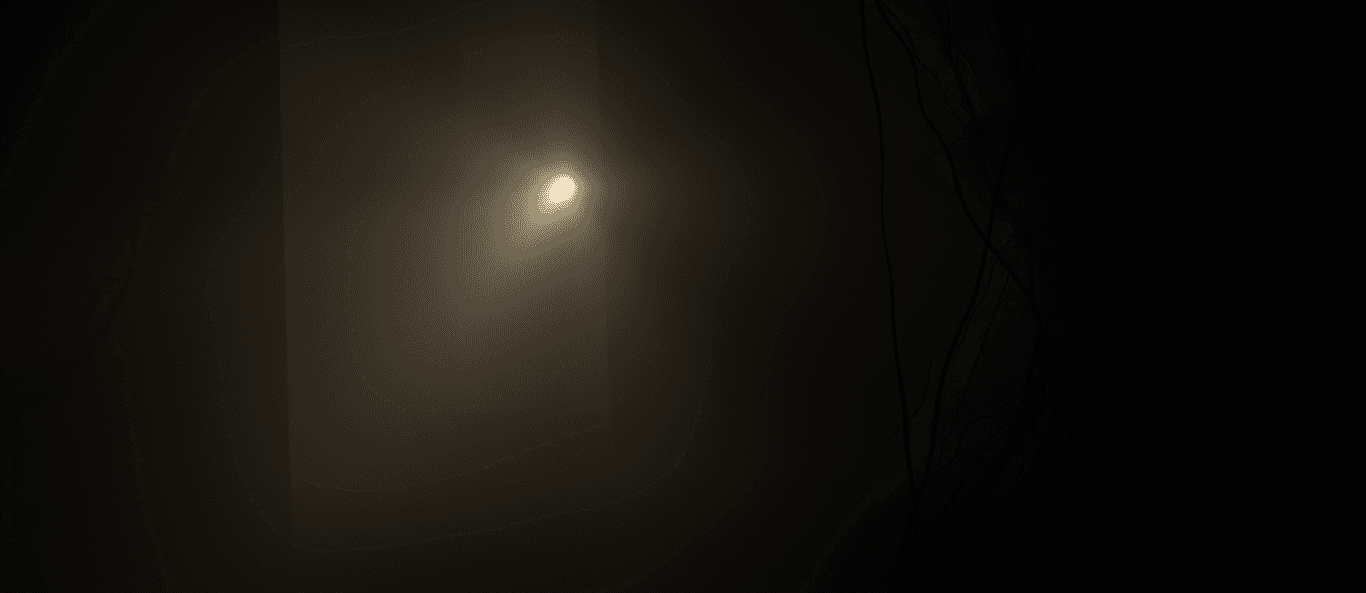
Now, I knew beforehand that the flashlight will be the trickiest part of this shot, any issue with the lighting, the CG will look out of place. The best solution I could think of is 3D lighting that matches the footage. So I animated a spotlight over the real one matching the exact angle and intensity. And of-course not forgetting the light coming from the entrance (left side).
I also added some volumetric that catches the light, this will help with the general dusty atmosphere in the shot.
So after the tracking and lighting is done, now it's time to see how CG might look like in the scene, so I jumped into Houdini, where I did the infection 3D model.
I used a group of points [A] and a group of points [B], connected them together using [find shortest path] node, then ray casted the lines onto the surface so the lines will stretch to the roof and the floor. After that it was a matter of copying geometry to points and randomize rotation and scale, playing with the position using point jitter, using sweep to make tubes, and fusing the geometry together at the end using VDB

Now we have a simple but effective infection system. Exported the geo to Blender for testing, and after back and forth a couple of times to get a nice composition, this is what I ended up with.

I rendered all the Beauty AOVs needed for the shot as a multilayerEXR to use in comp, along with all the data AOVs like Normal, Position, Cryptomatte, etc. In addition, I made a separate channels for the spotlight, and the light coming from the side. This will be very helpful when trying to add things only where the light is.
Now in Nuke I imported all the 3D renders along with the original plate. First I started by separating all the channels and combining them back to beauty render to have access to every channel separately.
From there I went ahead and combined the plate with the CG, and started the integration process.
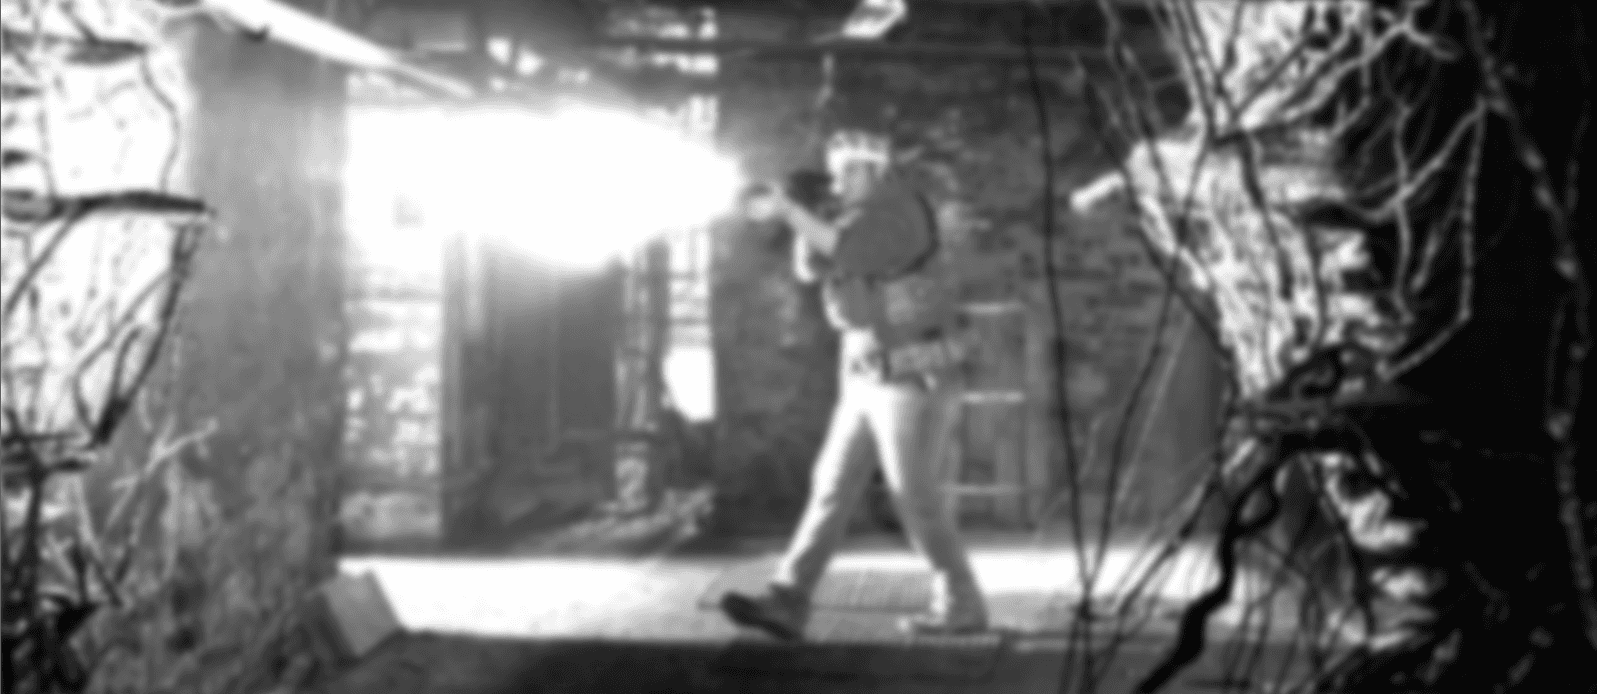
A big part to integrate the CG with the plate is the black and white levels, I tend to work on this with saturation turned all the way down so I can only focus on the values of the black and white, without getting distracted by the colors.
Here you can see before and after the values adjustments, the CG isn't out of place anymore and it feels as part of the image.
After turning the saturation back to it's normal value, and looking at a different frame in the shot, we can see things in colors, I tweaked the colors a little bit and did some lighting adjustments using the normal pass.
This kind of infected environment should have some dirty atmosphere, so I filled the area with dust and fog elements, this was driven by a luma key to make the dust more obvious in the light areas like in the screenshot below.
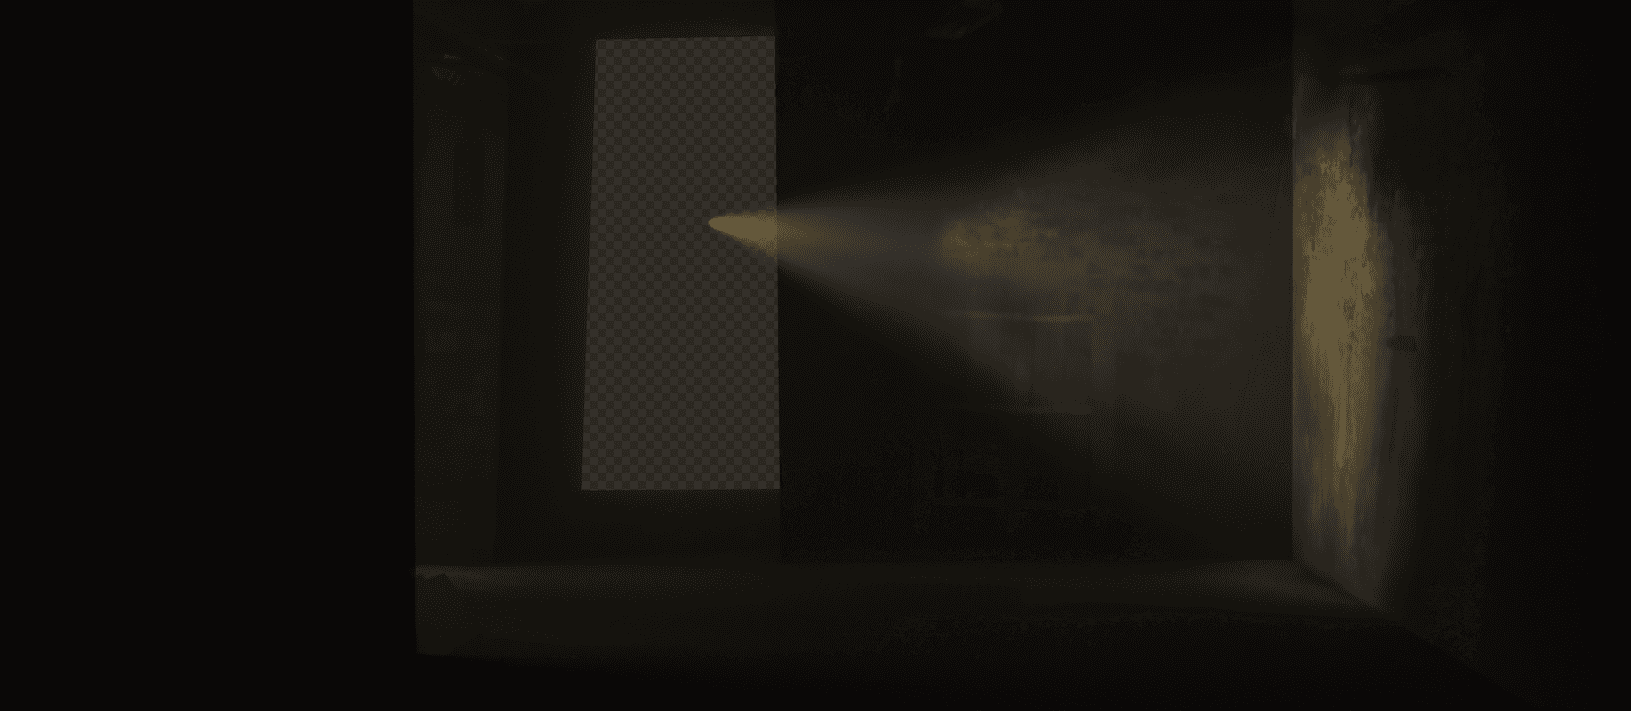
Now, if you look at the sunlight coming through a window during a sunny day, you'll notice small dust particles that you wouldn't otherwise.
The same principle applies here, since the flashlight is very powerful in this dark environment, I used the light pass I rendered from Blender to put even thicker dust only where the light travels, this will make the scene way more believable.
After tweaking in colors, lights, and other elements to make sure that everything sits together, I render EXR sequence to Davinci Resolve to do some color grading.
Here is the final result:
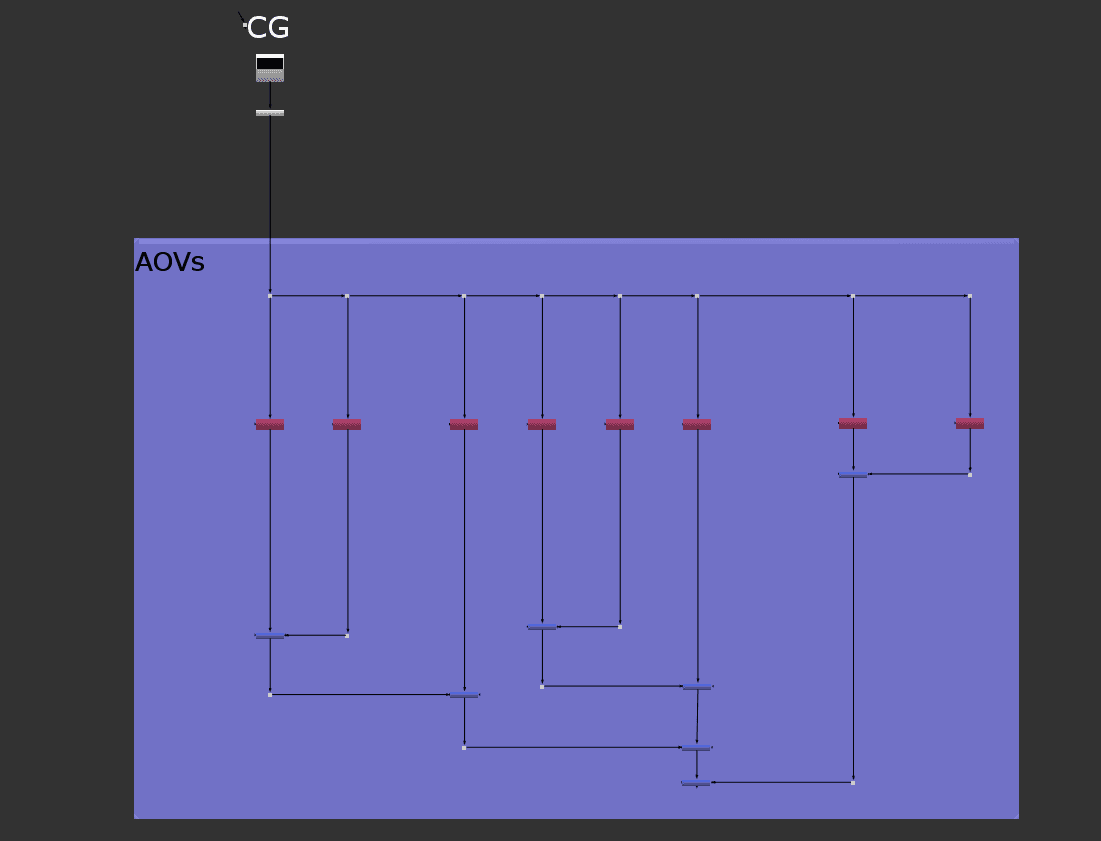
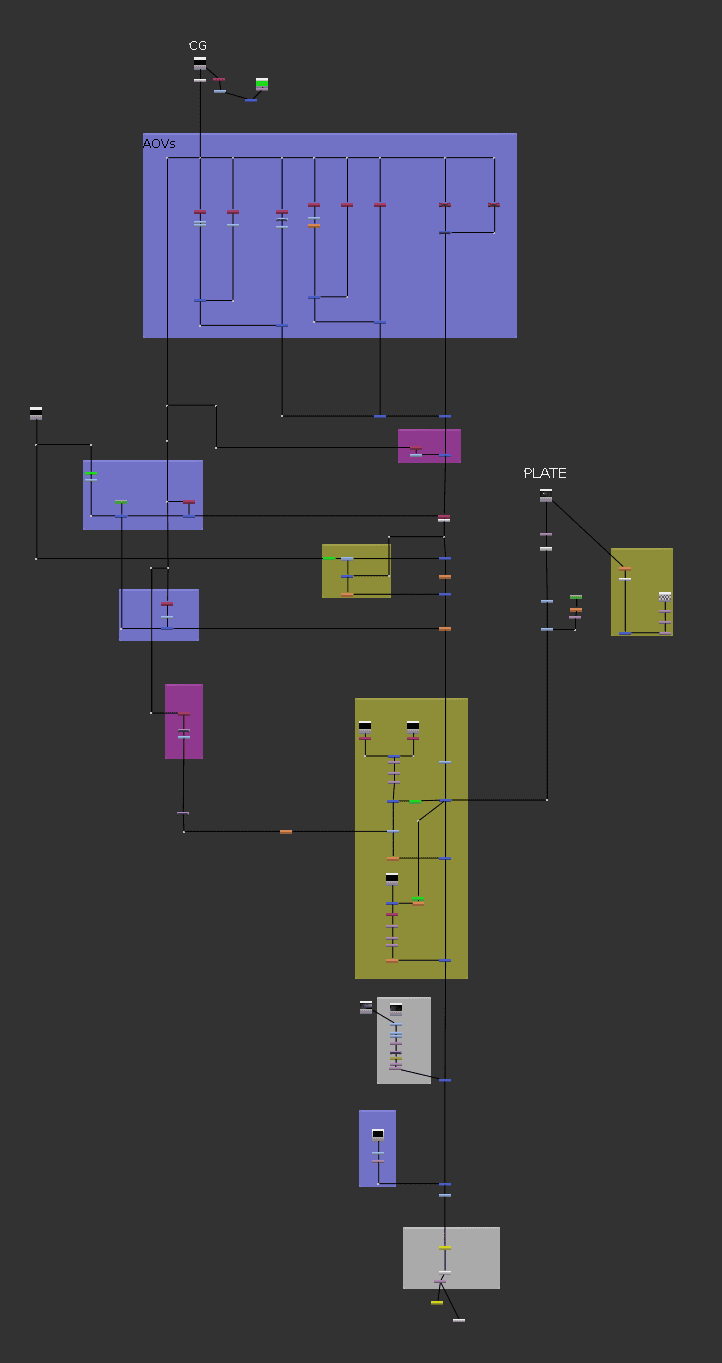
As you can see, this script isn't very big, thanks to the passes that the 3D software provide us with, things can take way fewer nodes than trying to manually integrate cgi without any passes provides.
And in general, sometimes less is better, I could go on forever putting all kind of elements into the scene, but the shot doesn't need more than that to tell the audience the story we're trying to tell.
Thank you!